Aspiring filmmakers, elevate your videos from amateur to cinematic! This comprehensive guide unveils the secrets to professional-looking videography. Learn essential techniques, from mastering composition and lighting to utilizing advanced editing software. Discover how to craft compelling narratives and transform your footage into captivating cinematic masterpieces. Prepare to unlock your inner filmmaker and captivate audiences with stunning visuals.
Methods: Intentional Shooting
Step-by-Step Instructions
-
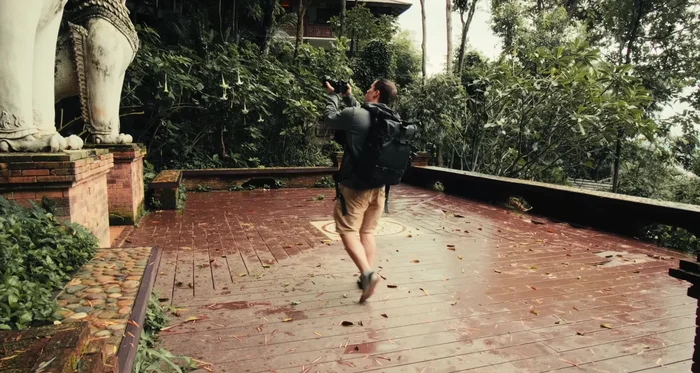
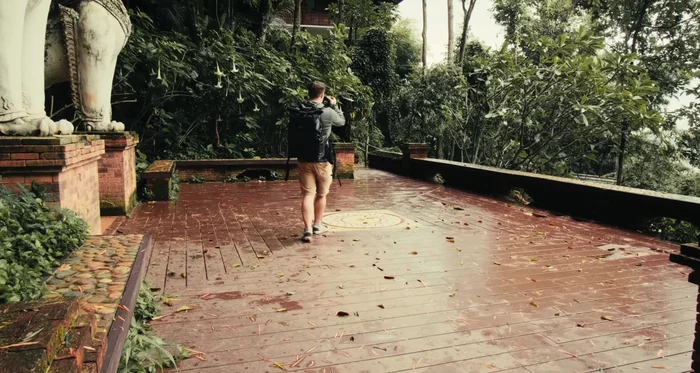
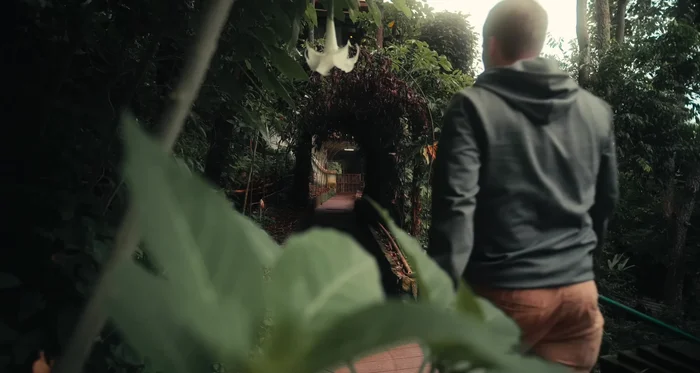
Intentional Shooting Planning
- Stop constantly filming while moving. Capture single, purposeful shots.
- Clearly define what each shot aims to accomplish in the story.
- Plan your shots before filming to ensure visual coherence.

Intentional Shooting Planning
Tips
- Consider wide shots to show the big picture, and close-ups for detail and emotional impact.
Methods: Optimal Framing and Composition
Step-by-Step Instructions
-
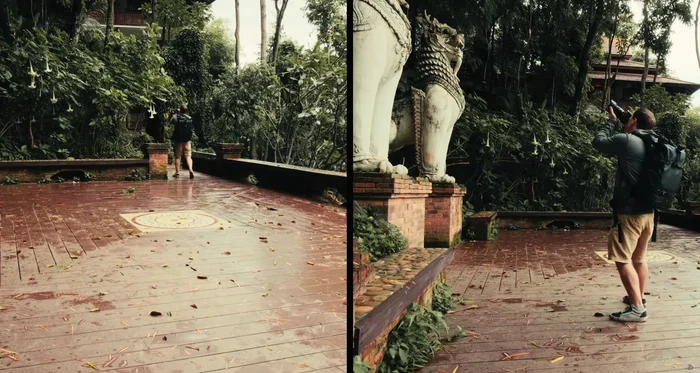
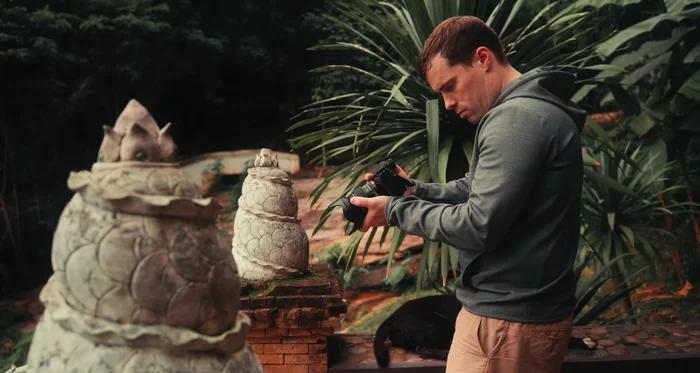
Framing and Composition
- Use grid lines to position subjects according to the rule of thirds (off-center) for visual appeal.
- Ensure the subject's gaze or movement directs the viewer's eye within the frame.
- Experiment with different grid line intersections for unique compositions.
Framing and Composition

Tips
- Improve composition skills through photography practice.
Methods: Strategic Camera Movement
Step-by-Step Instructions
-
Strategic Camera Movement
- Utilize camera movement to enhance visual interest and facilitate transitions between shots.
- Consider both smooth and shaky camera motion as artistic choices, depending on the desired mood and story.
Strategic Camera Movement
Tips
- Use techniques like pulling the camera away from your body or moving your body while holding arms still for smoother movement without a gimbal.
- A cheap tripod is a cost-effective alternative for steady shots, especially when focusing on framing and composition.
- If using a gimbal, opt for a small, lightweight model for ease of portability.
Methods: Masterful Lighting
Step-by-Step Instructions
-
Understanding Cinematic Lighting
- Understand that lighting creates depth. Use shadows to make your subject stand out.
Understanding Cinematic Lighting -
Outdoor Lighting Techniques
- Shoot during golden hour (one hour after sunrise or before sunset) for naturally beautiful light.
- Position your subject to utilize backlighting for rim light effect, or side lighting to create shadows revealing details.
-
Indoor Lighting Techniques
- When filming indoors, use window light strategically, employing the same lighting principles as outdoor shooting.

Tips
- Utilize ceiling lights to create a subtle hair light effect for added separation from the background.
- A reflector or fill light can brighten shadowy areas if needed; inexpensive alternatives include white pillows or paper.
- Invest in professional lights with softboxes and grids for precise light control.
Methods: Essential Camera Settings
Step-by-Step Instructions
-
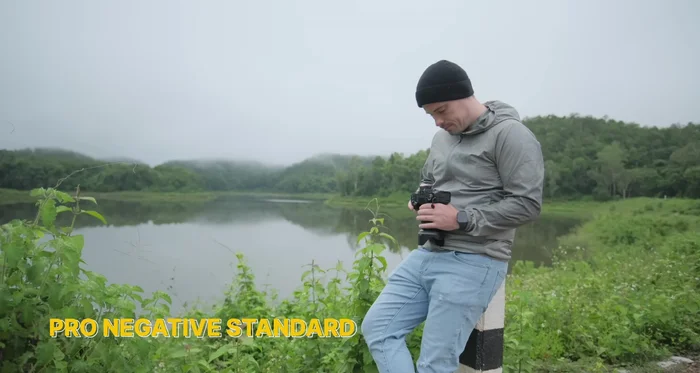
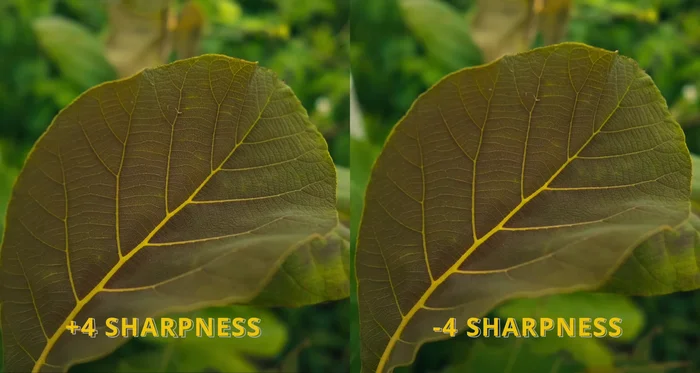
Camera Picture Profile and Sharpness
- Use a flat picture profile (often with 'cine' in the name) to capture maximum dynamic range.
- Set sharpness to the lowest setting to avoid digital sharpening artifacts.
Camera Picture Profile and Sharpness -
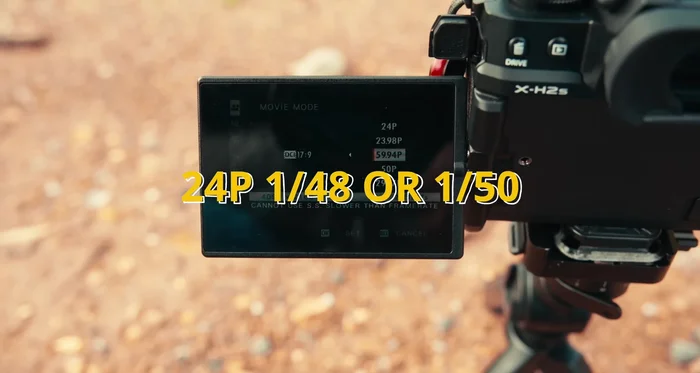
Frame Rate Settings
- Set frame rate to 24fps (cinematic standard) or 30fps (smoother). Higher frame rates (60fps or 120fps) are needed for slow motion.
-
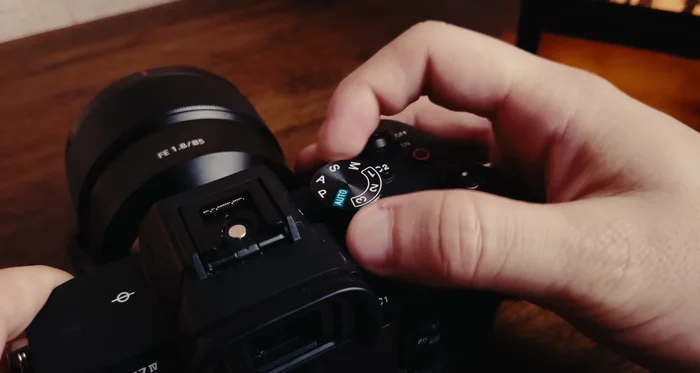
Manual Exposure Settings
- Shoot in manual exposure mode for consistent exposure and control over shutter speed, aperture, and ISO.
- Maintain a shutter speed of double your frame rate (e.g., 1/50th for 24fps) for natural motion blur. Adjust aperture for desired depth of field (f/4-f/8 usually optimal). Keep ISO as low as possible to minimize noise.
Manual Exposure Settings -
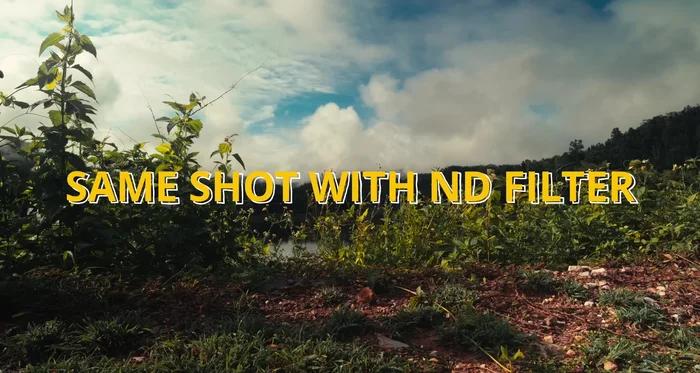
Exposure Control and Filters
- Use ND filters to reduce light levels, allowing for lower aperture and shutter speed without overexposure (especially beneficial in bright conditions).
Exposure Control and Filters -
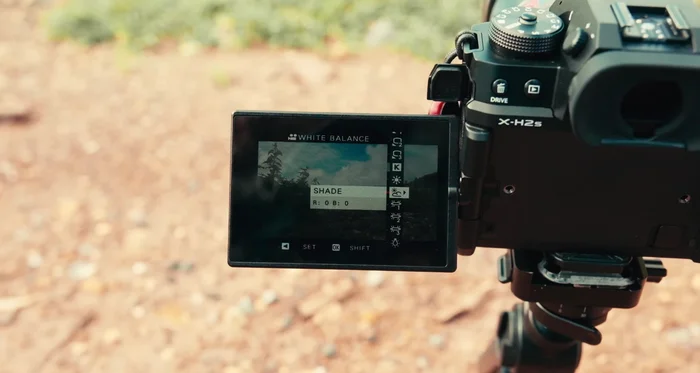
White Balance Calibration
- Set white balance manually using a grey card for accurate color representation.
White Balance Calibration
Tips
- Even if you can’t always perfectly expose for all parts of the image, focus on exposing correctly for the most important areas.
- Using log profiles (10-bit if available) significantly expands dynamic range, providing more flexibility during post-production.
Methods: Cinematic Video Editing
Step-by-Step Instructions
-
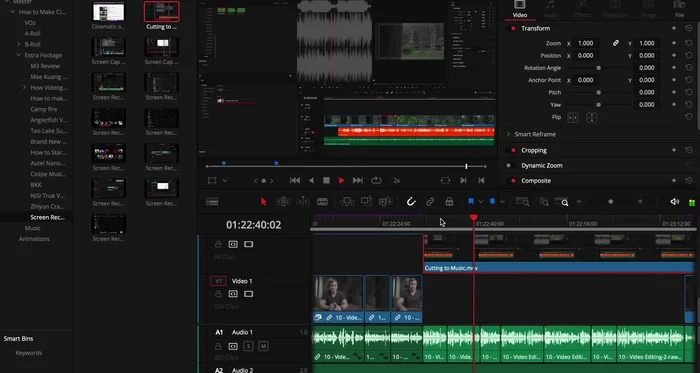
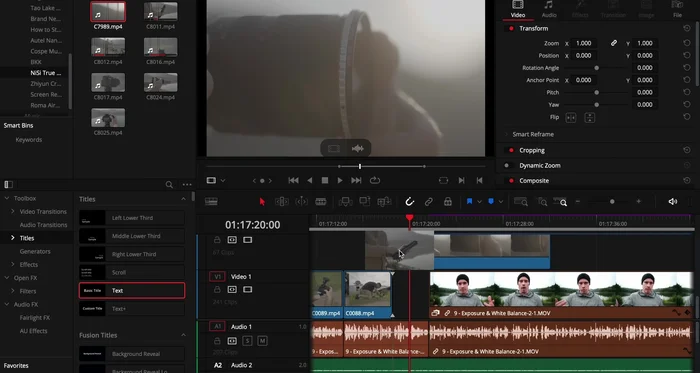
Video Editing: Rough Cut
- Create a rough cut, arranging shots in a logical order and removing unnecessary footage.
Video Editing: Rough Cut -
Video Editing: Music and Sound
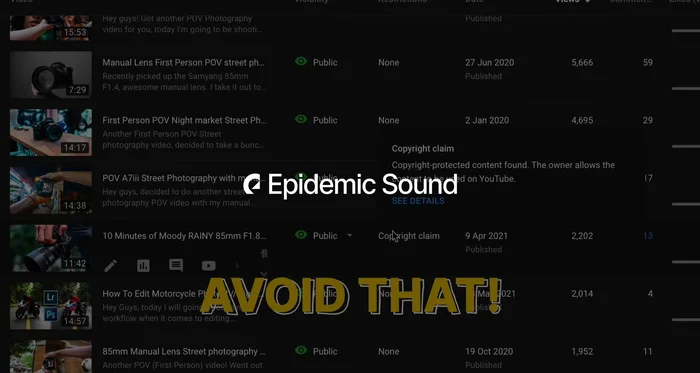
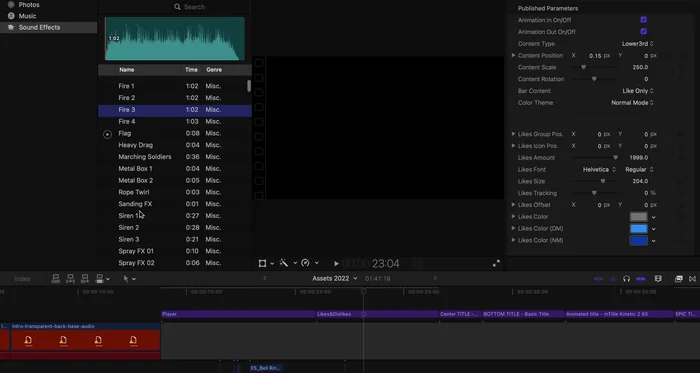
- Add music (licensed for use) and cut your video to match the beat. Adjust music volume using keyframes during spoken parts.
- Incorporate sound effects to enhance immersion.
Video Editing: Music and Sound -
Video Editing: Advanced Techniques
- Learn to subtly hide jump cuts using techniques like zooming, overlays, and J-cuts.
Video Editing: Advanced Techniques
Tips
- Use music to set the mood of your video.
- Prioritize basic editing, sound design, and color grading initially. Add fancy effects and transitions later.
- Good lighting is far more important than color grading and cannot be completely fixed in post-production.
Common Mistakes to Avoid
1. Shaky Footage
Reason: Unstable camera movement makes the video look unprofessional and amateurish, distracting the viewer from the content.
Solution: Use a tripod, stabilizer, or other support system to keep the camera steady.
2. Poor Lighting
Reason: Insufficient or uneven lighting results in dark, grainy footage that is difficult to watch and lacks visual appeal.
Solution: Use adequate lighting sources, adjust exposure settings, and consider using reflectors or diffusers to improve lighting quality.
FAQs
What kind of camera equipment do I need to start making professional-looking videos?
You don't need the most expensive gear to start. A good quality mirrorless or DSLR camera with interchangeable lenses is a great foundation. Prioritize good lenses over a super expensive camera body initially. A decent microphone (even a lavalier mic) is crucial for audio quality, which often makes or breaks a video. A tripod is essential for stable shots.
How can I improve my video editing skills to achieve a cinematic look?
Practice is key! Start by learning the basics of your chosen editing software (DaVinci Resolve, Premiere Pro, Final Cut Pro are popular choices). Focus on mastering color grading, using smooth transitions, and implementing dynamic pacing through cuts. Study the work of cinematographers you admire to learn techniques like shot composition and visual storytelling. Consider online courses or tutorials to accelerate your learning.