Visualizing processes is key to understanding and improving them. Lucidchart makes creating professional-looking flowcharts easy, even for beginners. This step-by-step guide walks you through the entire process, from creating a new diagram to customizing shapes and sharing your work. Learn how to leverage Lucidchart's intuitive interface to efficiently design clear, concise, and impactful flowcharts for any project. Let's get started!
Step-by-Step Instructions
-
Account Setup and Template Selection
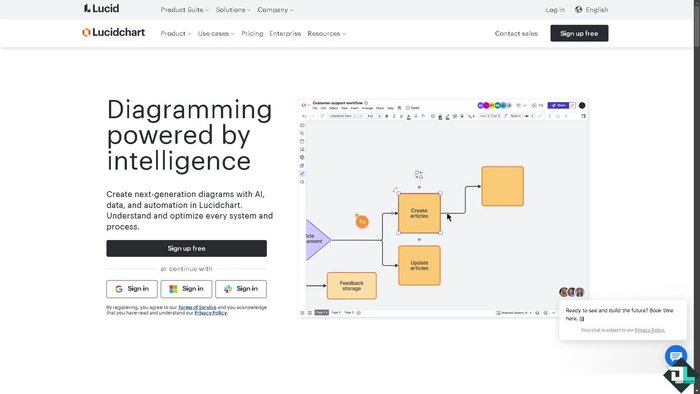
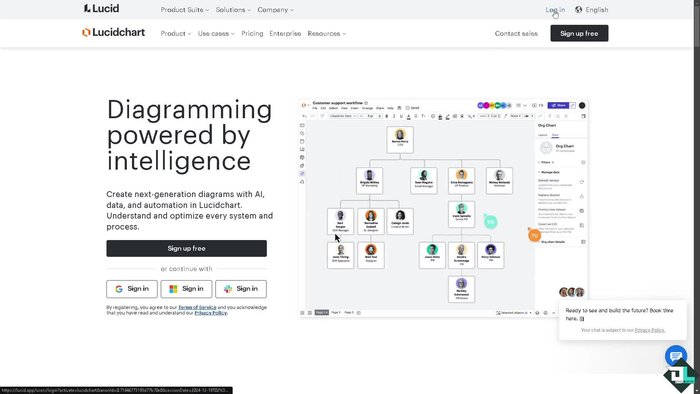
- Log in to your Lucidchart account. If you're a new user, click 'Sign up' and follow the on-screen instructions.
- Click the 'New' icon on the left-hand panel of your dashboard, select Lucidchart, and choose between starting from a blank document or using a template. Search for and select a flowchart template.

Account Setup and Template Selection -
Document Initialization
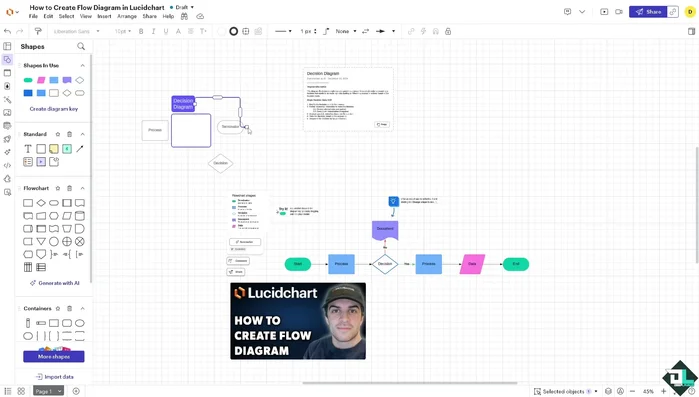
- Rename your file and add an image (optional).
Document Initialization -
Enable Flowchart Library
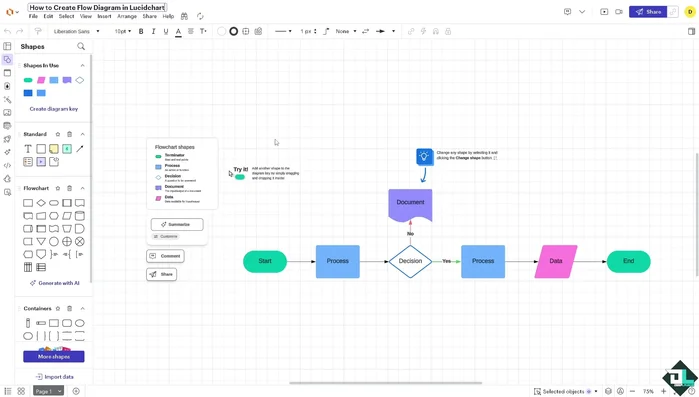
- Enable the flowchart shape library by clicking 'Shapes' in the left toolbar, then 'Shape Library,' and 'More Shapes.' Ensure the 'Flowchart' shape library is enabled.
Enable Flowchart Library -
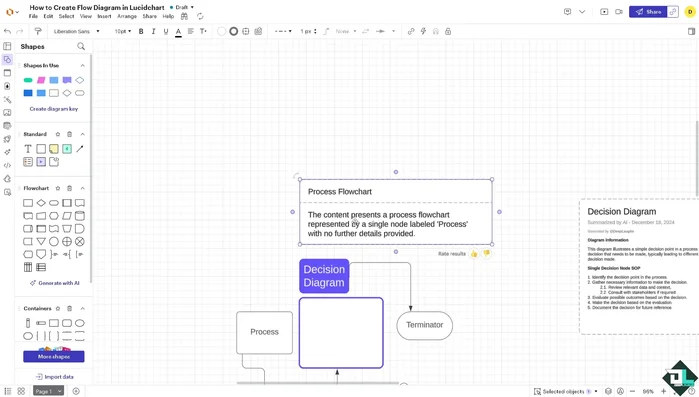
Add Flowchart Elements
- Drag and drop shapes (rectangles for processes, diamonds for decisions, ovals for start/end points) from the library onto the canvas. Double-click shapes to add text.
- Use the AI diagram outline feature (optional) for content suggestions.
Add Flowchart Elements -
Connect Shapes and Add Labels
- Connect shapes using arrows by dragging them from one shape's connection point (small blue dot) to another.
- Right-click connectors to add labels and customize their appearance.
Connect Shapes and Add Labels -
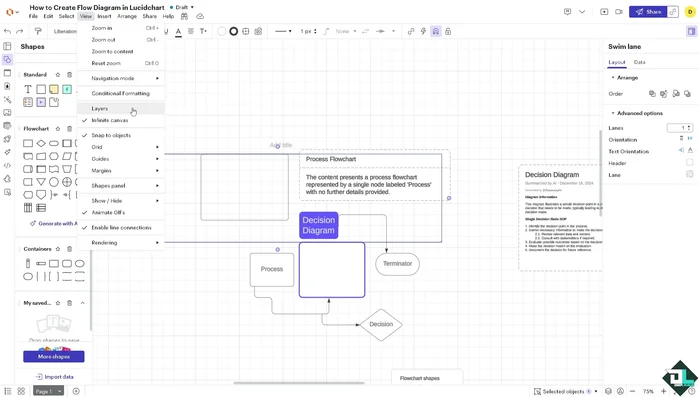
Organize and Refine
- Use layers (View > Layers) to organize complex diagrams.
- Review the flow to ensure logical progression.
Organize and Refine -
Save and Duplicate
- Save your work (File > Save or Ctrl+S). Create a duplicate copy for experimentation.
-
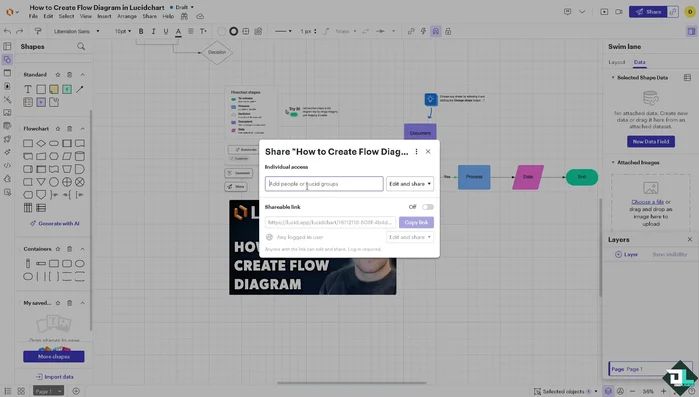
Export and Share
- Export your flowchart in various formats (PNG, JPEG, SVG, CSV, etc.).
- Share your flowchart by creating a shareable link with adjustable access levels (edit, comment, view).
Export and Share -
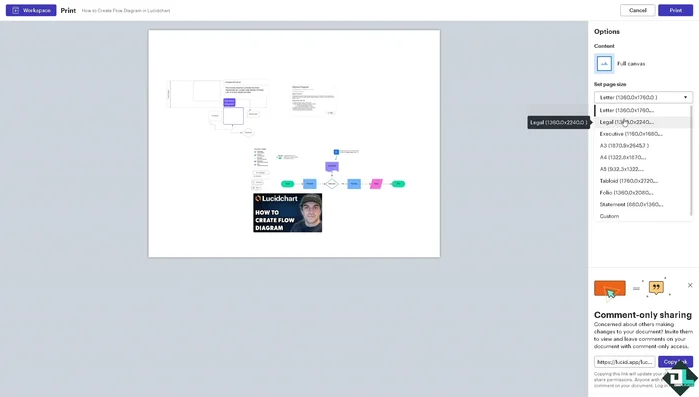
Print Flowchart
- Print your flowchart by selecting paper size and clicking 'Print'.
Print Flowchart


Tips
- Use the AI features for quick content generation.
- Utilize layers for managing complex diagrams.
- Always create a duplicate copy before making significant changes to your original file.
- Leverage Lucidchart's auto-adjusting text feature for shapes.
Common Mistakes to Avoid
1. Overly Complex Shapes and Connections
Reason: Using too many different shapes and overly complicated connections makes the flowchart difficult to understand and navigate.
Solution: Simplify your flowchart by using standard shapes and keeping connections clear and concise.
2. Lack of Clear Logic Flow
Reason: The flowchart doesn't follow a logical sequence, making it difficult to trace the process or decision-making path.
Solution: Ensure that the flowchart progresses logically from start to finish, clearly indicating the flow of actions and decisions.
3. Insufficient Labeling and Descriptions
Reason: Shapes and connections lack clear labels and descriptions, leaving the flowchart's meaning ambiguous.
Solution: Add clear and concise labels to all shapes and use descriptive text to explain the actions or decisions represented.
FAQs
How do I add shapes and connectors to my Lucidchart flowchart?
Lucidchart offers a vast library of shapes. Simply search for the shape you need (e.g., 'rectangle,' 'diamond,' 'arrow') in the shapes panel on the left. Drag and drop shapes onto the canvas. Connectors are automatically suggested as you drag from one shape to another; otherwise, select a connector from the shapes panel.
Can I collaborate with others on a Lucidchart flowchart?
Yes! Lucidchart supports real-time collaboration. Share your diagram with colleagues by inviting them via email or sharing a link. Multiple users can edit the flowchart simultaneously, making teamwork efficient.
How do I export my completed flowchart?
Lucidchart provides various export options. You can download your flowchart as a PNG, JPG, PDF, SVG, or even a Visio file. Click the 'Share' or 'Export' button (depending on your Lucidchart version) to access these options.