Level up your YouTube videos with seamless transitions! This definitive guide unlocks the secrets to smooth, stylish video editing, transforming your content from amateur to professional. We'll explore a range of techniques, from simple cuts to advanced effects, perfecting your flow and captivating your audience. Learn how to choose the right transitions for your style and elevate your videos to the next level. Get ready to impress!
Methods: Whip Pan Transition from Scratch
Step-by-Step Instructions
-
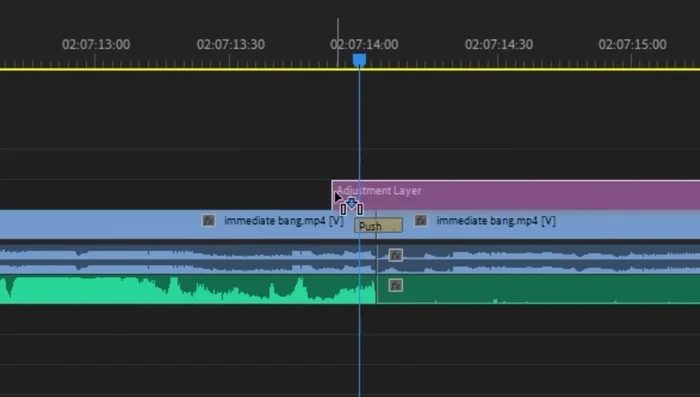
Adding the Basic Push Transition
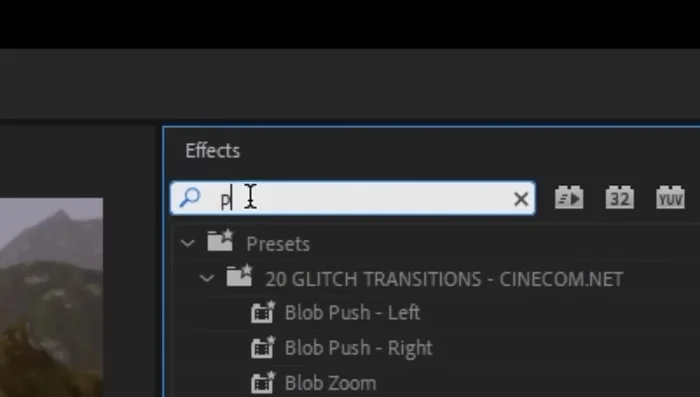
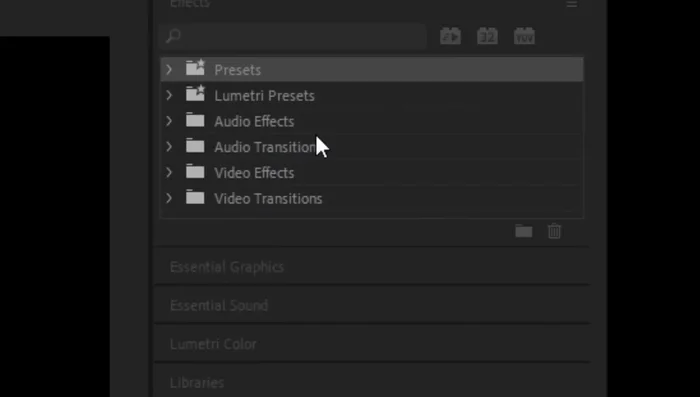
- Head over to the effects panel and search for "push" in the video transitions.
- Place the "push" animation between the two clips you want to transition.
- Adjust the duration of the push animation to around 11 frames.

Adding the Basic Push Transition -
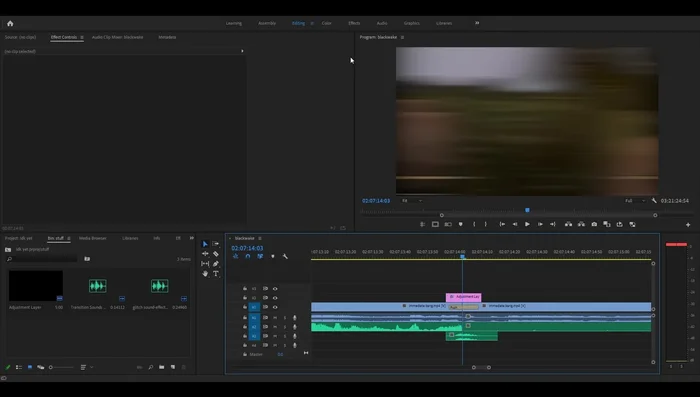
Creating and Preparing the Adjustment Layer
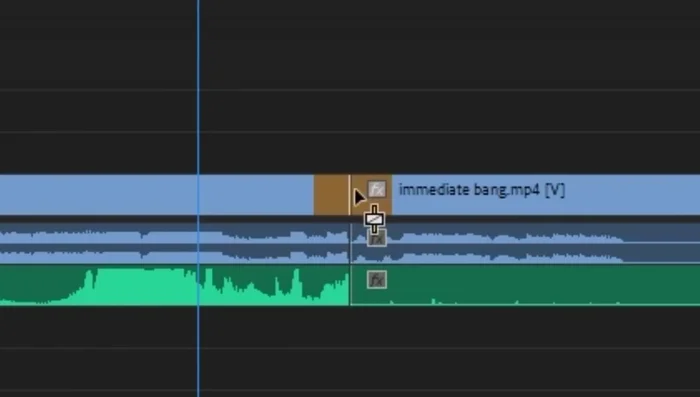
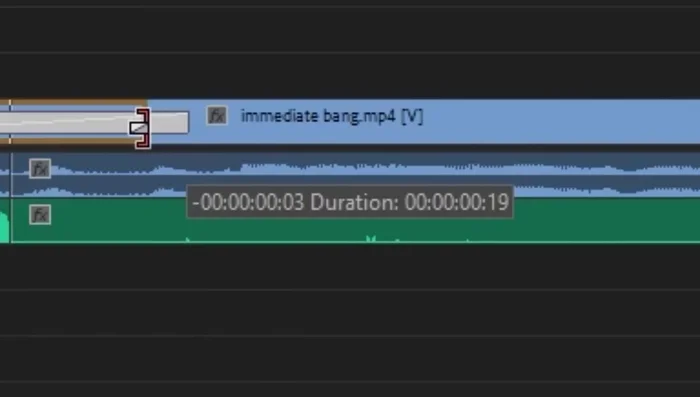
- Create an adjustment layer. Set the frame rate to match your project.
- Drag the adjustment layer onto the timeline, trim it to the length of the transition.
Creating and Preparing the Adjustment Layer -
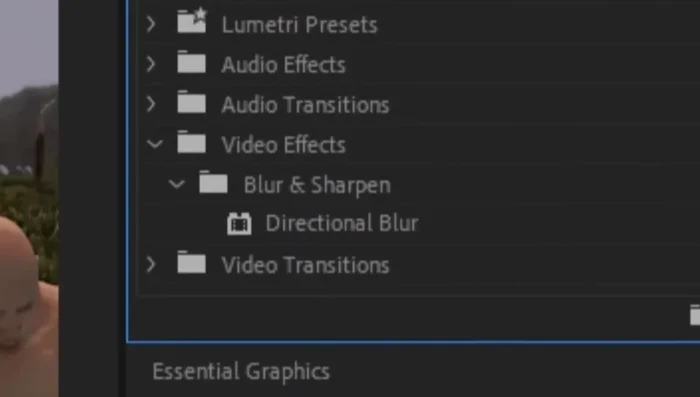
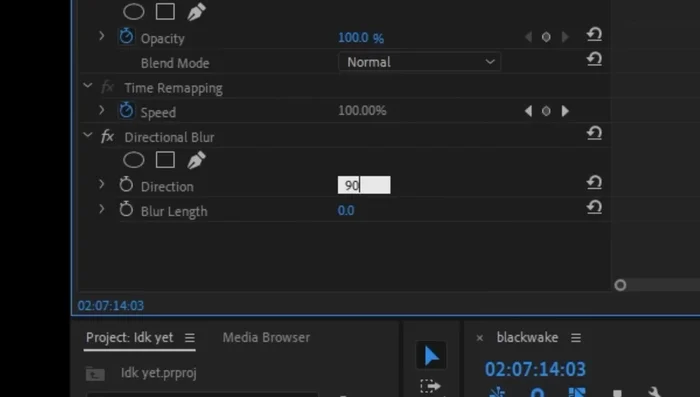
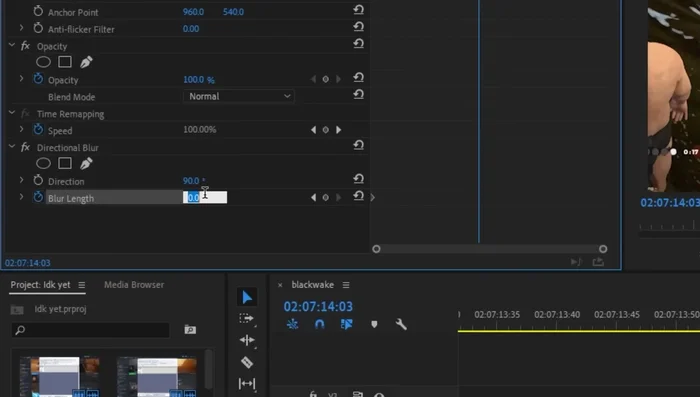
Adding and Adjusting Directional Blur
- Search for "directional blur" in the effects panel and add it to the adjustment layer.
- In the effects controls, set the blur angle to 90 degrees.
- Create keyframes at the start, middle, and end of the adjustment layer for the blur length. Set the start and end to 0, and the middle to around 150.
Adding and Adjusting Directional Blur -
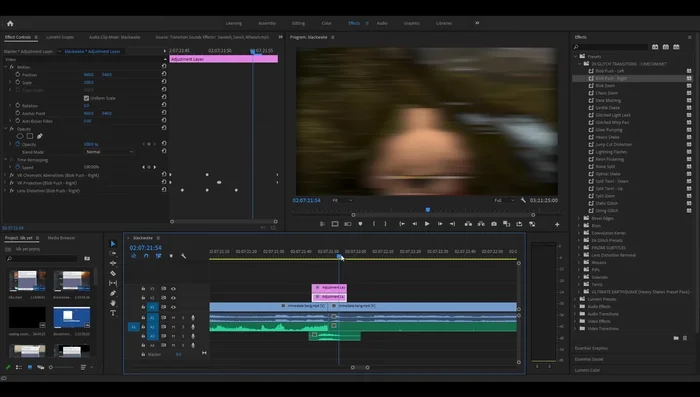
Adding and Adjusting Transform Effect
- Add a "transform" effect to the adjustment layer. Create keyframes for the scale at the start, middle, and end. Slightly reduce the scale in the middle to avoid black smudging.
Adding and Adjusting Transform Effect -
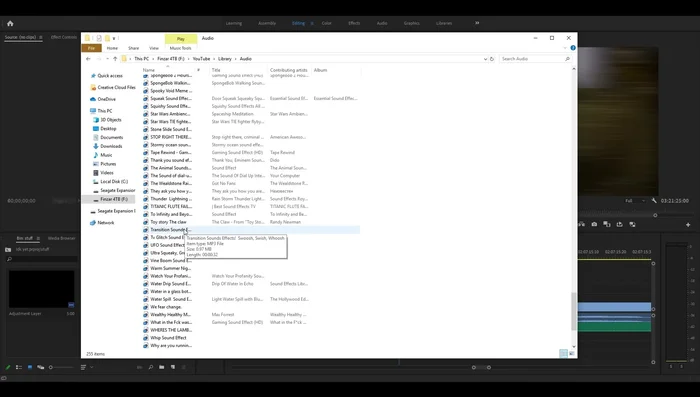
Adding Sound Effects
- Add a sound effect to enhance the transition.
Adding Sound Effects
Tips
- Experiment with the blur length keyframes to achieve the desired look.
- Adjust the transform scale to fine-tune the visual effect and prevent unwanted black edges.
Methods: Combined Preset and Custom Transition
Step-by-Step Instructions
-
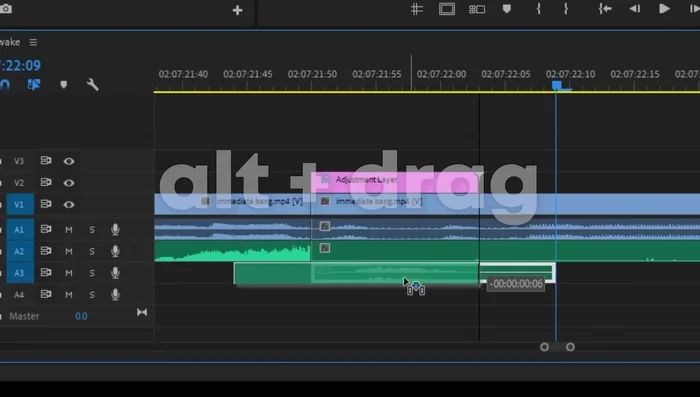
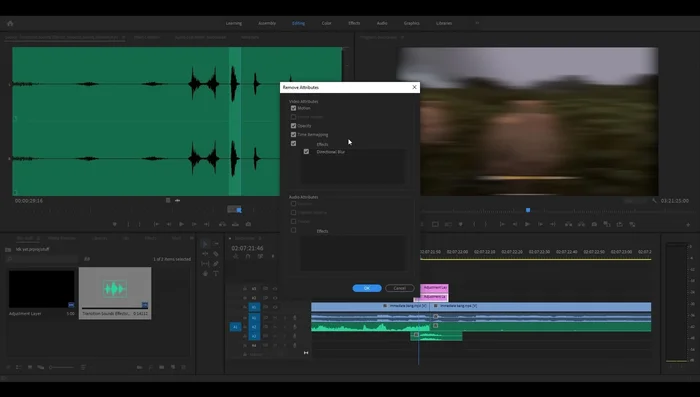
Create a Custom Transition
- Duplicate the adjustment layer created in the previous method using alt+drag.
- Remove the directional blur attributes from one of the adjustment layers.
Create a Custom Transition -
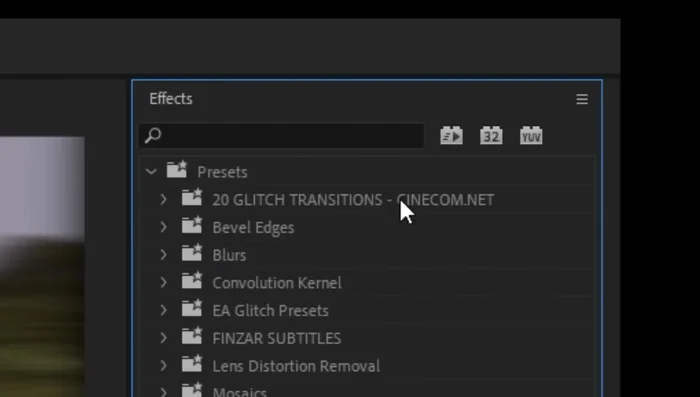
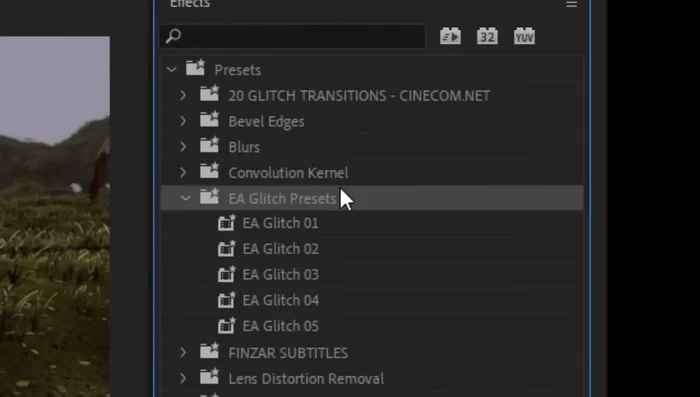
Import and Apply Presets
- Import custom presets into your video editing software.
- Drag and drop a chosen preset onto the blank adjustment layer.
- Experiment with different presets and adjust settings as needed.
Import and Apply Presets
Tips
- Remove chromatic aberration if desired for a cleaner look.
Methods: Direct Preset Application Transition
Step-by-Step Instructions
-
Import Presets
- Import transition presets.
Import Presets -
Apply Preset to Clip
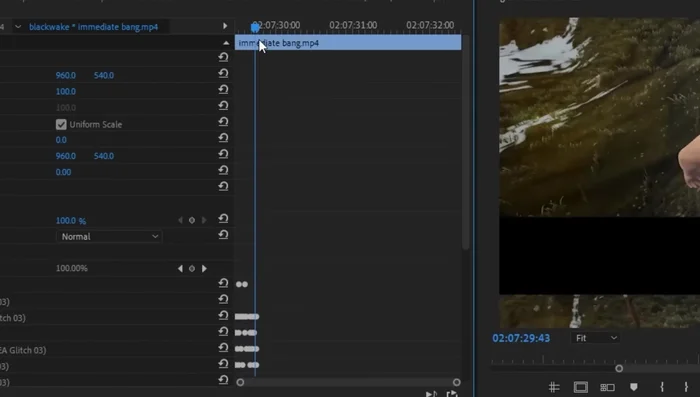
- Drag and drop the chosen preset directly onto clip B (the clip after the transition).
Apply Preset to Clip -
Adjust Keyframes and Duration
- Adjust keyframes in the effects controls to fine-tune the duration and visual effect.
Adjust Keyframes and Duration -
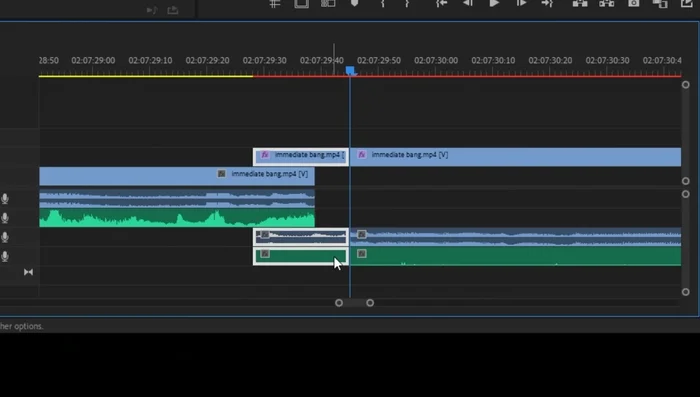
Layer and Position Clip
- Move the section of clip B with the effect to a track above the previous clip.
Layer and Position Clip -
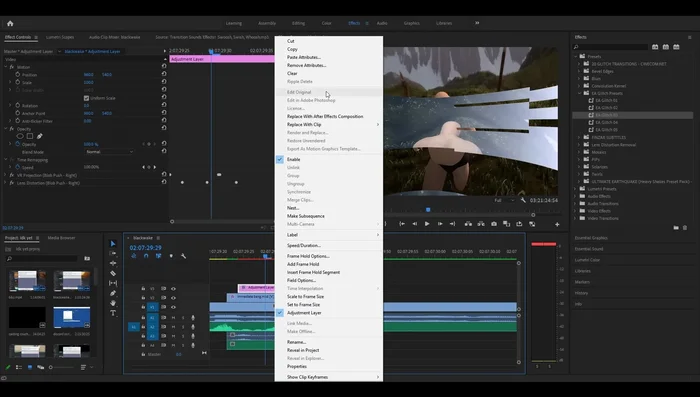
Add Secondary Preset (Optional)
- Add an additional adjustment layer with another preset (optional) to further enhance the transition
Add Secondary Preset (Optional)
Tips
- Experiment with different presets and combinations for unique effects.
Common Mistakes to Avoid
1. Using Too Many Transitions
Reason: Overusing transitions disrupts the flow of the video and makes it feel unprofessional and distracting.
Solution: Limit transitions to key moments and prioritize smooth, natural pacing.
2. Choosing Inappropriate Transitions
Reason: Using a flashy transition where a subtle one is needed (or vice versa) can clash with the video's tone and feel jarring.
Solution: Select transitions that complement the video's style and the emotional context of each scene.
3. Poorly Timed Transitions
Reason: Transitions that are too short or too long create awkward pauses or abrupt cuts that negatively impact viewer engagement.
Solution: Practice precise timing and experiment with different transition durations to find what best suits each scene.
FAQs
What's the best video editing software for smooth transitions?
There's no single 'best' software, as it depends on your budget and skill level. Popular choices include Adobe Premiere Pro (professional, powerful, but expensive), DaVinci Resolve (free and powerful, but steeper learning curve), Final Cut Pro (Mac-only, user-friendly, powerful), and Filmora (user-friendly, affordable). Experiment to find what suits you.