A well-designed event calendar can significantly boost website engagement and drive attendance. This article guides you through creating and configuring a powerful, user-friendly event calendar for your website. We'll explore various options, from simple plugins to custom-built solutions, covering features like recurring events, visual customization, and seamless integration with other platforms. Get ready to transform your website into a dynamic hub for upcoming events!
Step-by-Step Instructions
-
Create the Calendar Page
- Create a new calendar page by going to your website, selecting your site, and clicking 'Add new page'. Name your calendar, select 'Calendar' as the page type, and choose whether to include top/supporter navigation.

Create the Calendar Page -
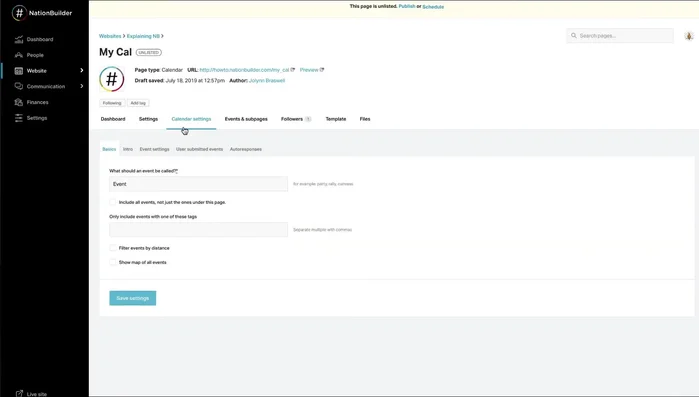
Configure Basic Calendar Settings
- Choose which events to display and what to call them under 'Calendar Settings Basics'. Decide on the event name (e.g., 'Party', 'Rally'). You can include all website events or limit to events with specific tags.
- Configure event sorting (by date or distance from the site visitor) and map display under 'Calendar Settings Basics'.
Configure Basic Calendar Settings -
Add Calendar Introduction
- Add a calendar introduction under 'Calendar Intro' using the content editor. Include images, videos, or other content as needed.
Add Calendar Introduction -
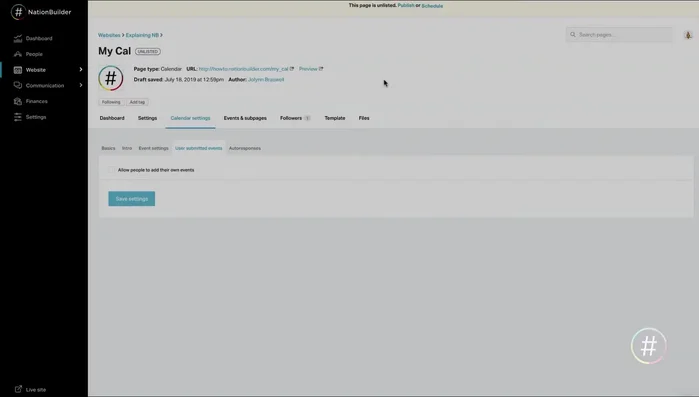
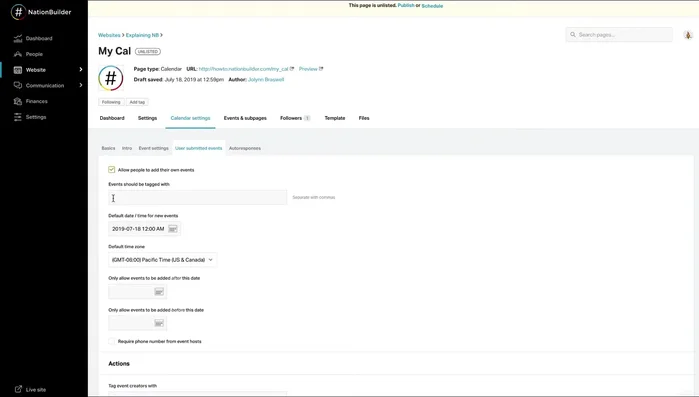
Manage User-Submitted Events
- Decide whether to allow user-submitted events under 'Calendar Settings User Submitted Events'. Note that this feature is typically limited to specific pricing plans.
- Configure user-submitted event parameters (email address requirement, tags, default date/time/timezone, date restrictions, phone number requirement, etc.)
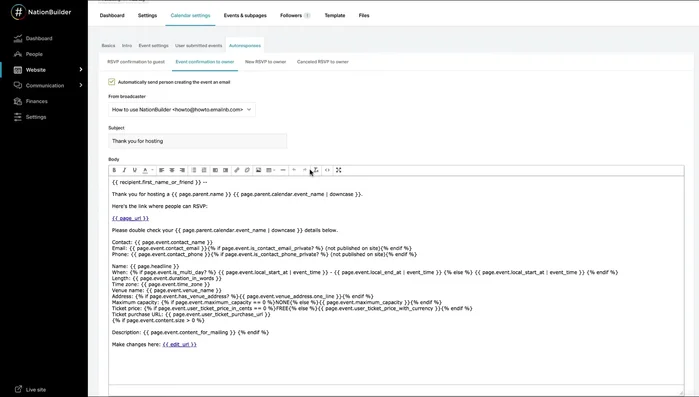
- Set up auto-responses for user-submitted events using liquid code under 'Calendar Settings Auto Responses'. Customize broadcast settings and email notifications (RSVPs and cancellations).
Manage User-Submitted Events -
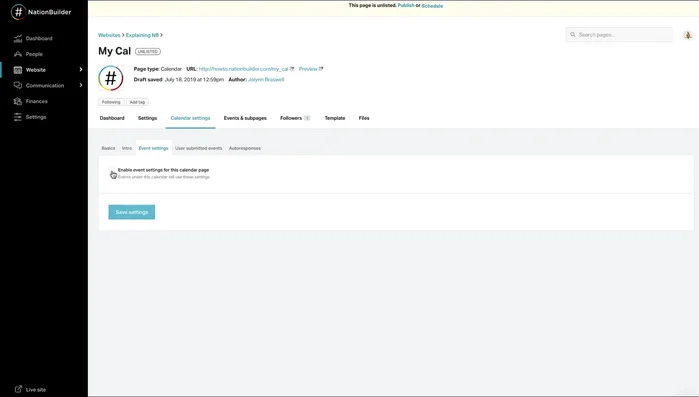
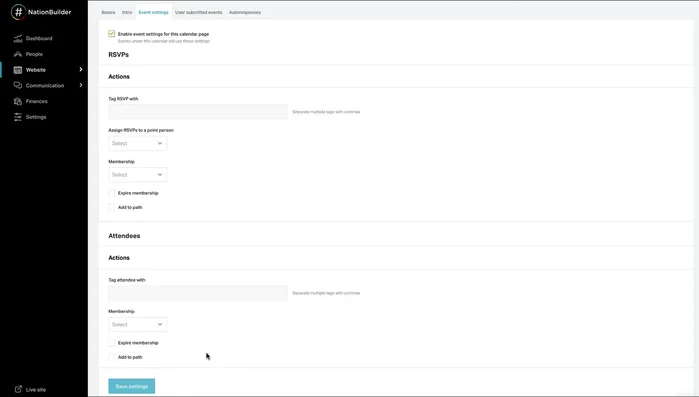
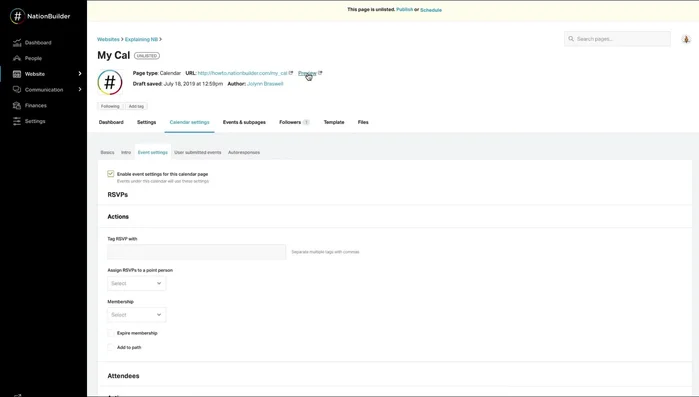
Set Up Global Event Settings
- Enable event settings at the calendar level under 'Calendar Settings Event Settings'. Assign a point person for membership assignment and tag additions for RSVP'd/attended individuals.
Set Up Global Event Settings -
Save and Preview
- Save settings. These will apply to all events under this calendar page.
- Preview your calendar to ensure everything looks correct before publishing.
Save and Preview


Tips
- Leave the calendar in draft mode until all settings are complete.
- Use tags to efficiently categorize and filter events.
- Consider using the distance sorting and map features for location-based events.
- Event settings at the page level become uneditable once the event page is under this calendar page.
Common Mistakes to Avoid
1. Overlooking Mobile Responsiveness
Reason: A calendar that isn't mobile-friendly will frustrate users accessing your site on smartphones and tablets, leading to poor user experience and potentially missed events.
Solution: Ensure your chosen calendar plugin or platform is responsive or use CSS media queries to adapt its layout for smaller screens.
2. Ignoring Clear Categorization and Filtering
Reason: A cluttered calendar with numerous events makes it difficult for users to find relevant information, resulting in disengagement and missed events.
Solution: Implement categories, tags, and search functionality to allow users to easily filter and find the events they are interested in.